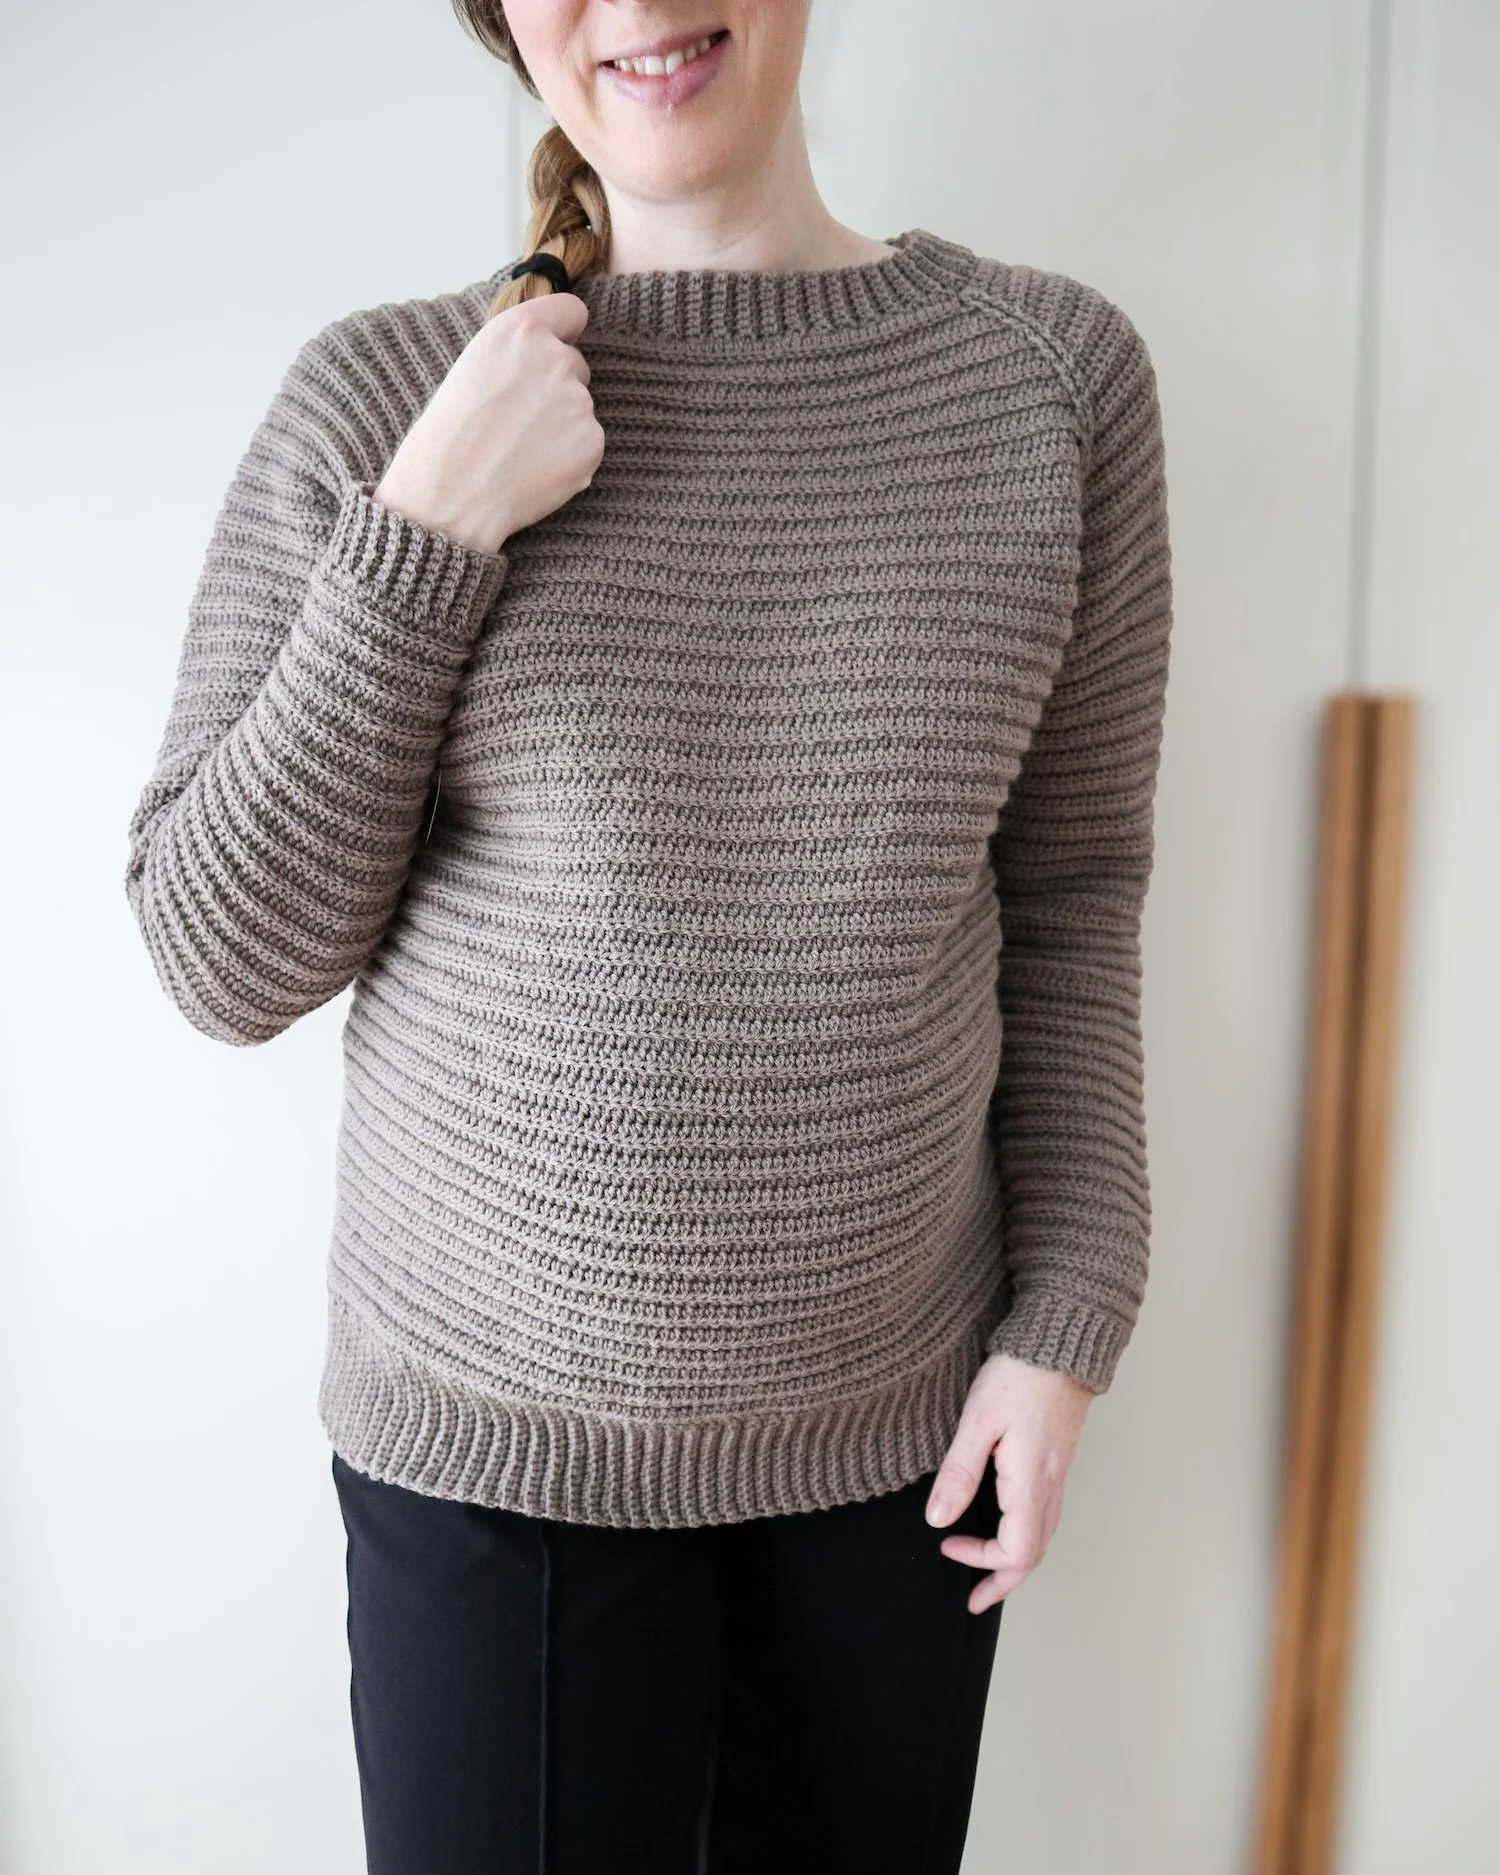
How to Crochet a Raglan - Beginner Series
It wasn’t a long time ago I was a beginner crocheter myself. And I still remember that a raglan was something that felt really advanced and like something that I might be able to crochet after years of making. Can you relate? I am here to tell you it doesn’t have to be so. Top down sweaters and raglans can be beginner projects as well.
This post is a theoretical post as part of my beginner series, I use US crochet terminology. The post might contain affiliate links, read more in our disclosure policy.
Discussing the obstacles and what feels hard as a beginner, while making a raglan, with one of my testers I wanted to give some general guidelines and tips and tricks that might help you if it is the first time you crochet a raglan.
I will use a half double crochet (HDC) as an example stitch here, but it can basically be any stitch. Like single crochet, double crochet etc.
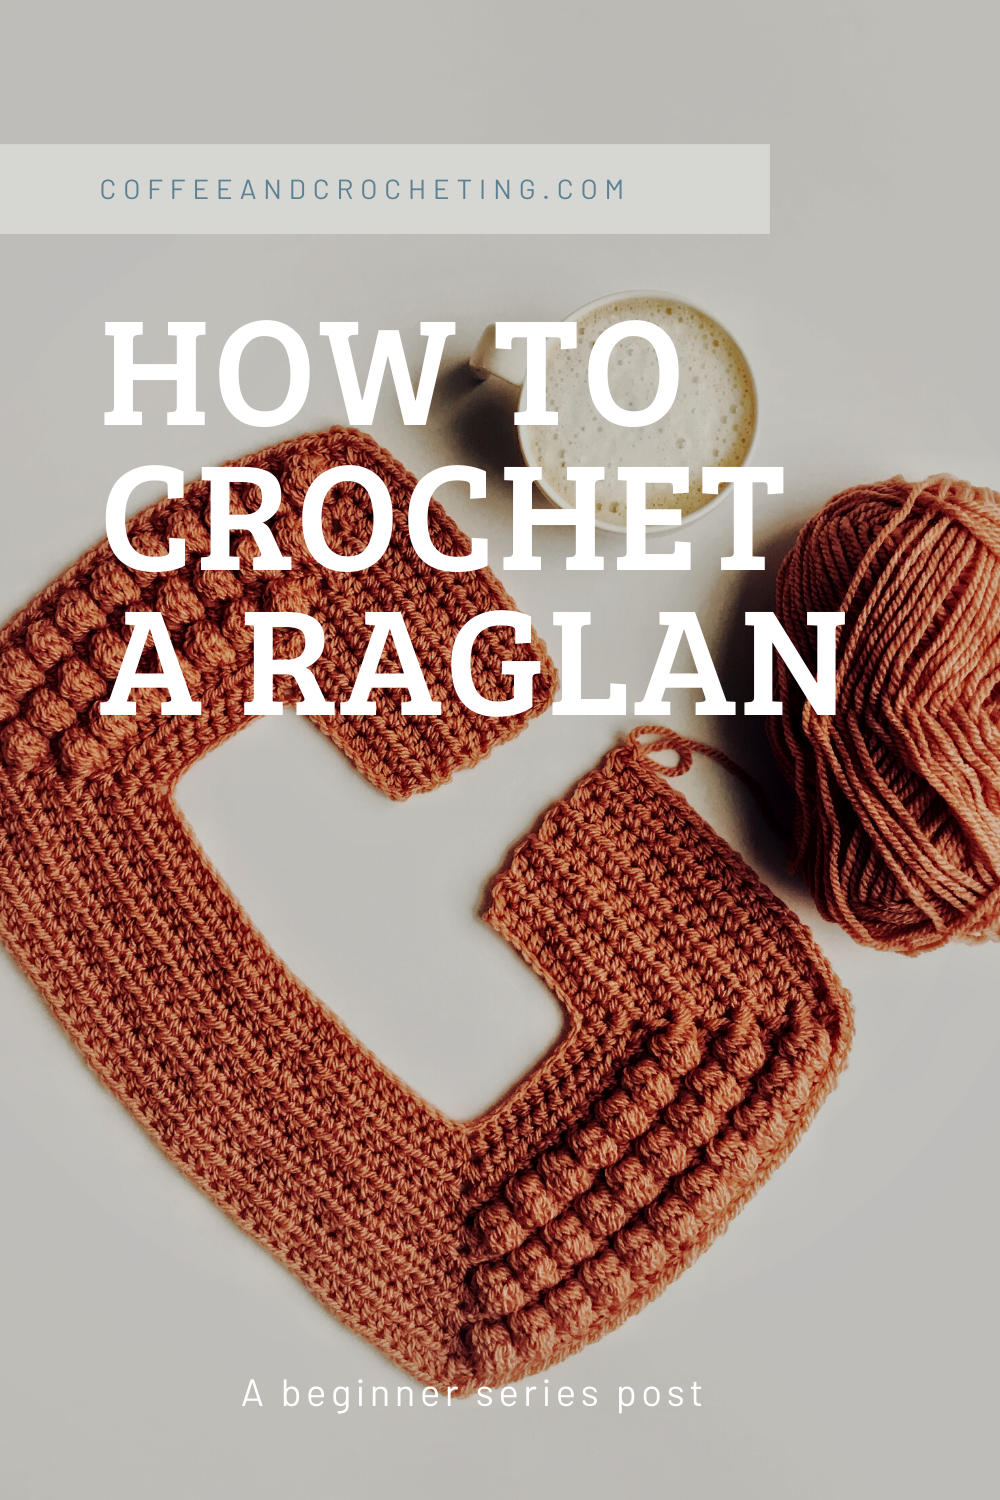
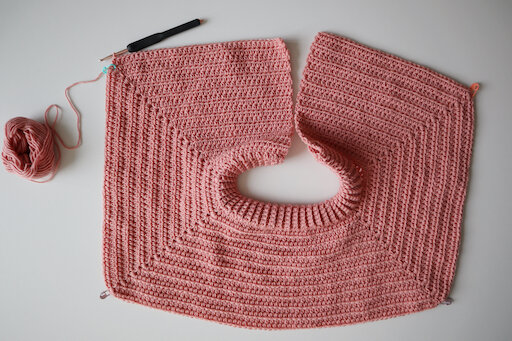
A raglan is crocheted from top down, meaning that you start with the neckline and work your way down. What makes it special is that it is worked as a square or a rectangle, usually similar to this:
V-stitches
The corners are made using a V-stitch. That can be done in different ways depending on the pattern and the stitches used in the pattern. Let’s say we are using a half double crochet (HDC), which is the stitch many of my patterns use). Then the V-stitch, or corner stitch as I often call it, is made by making one HDC, ch 1 and then one more HDC in the same stitch as the first HDC (HDC, ch 1, HDC).
Can you see from pictures below it looks like a V? Here I usually mark the ch space between the 2 HDCs with a stitch marker, since it is in this space you often make the V-stitch on the next row or round.
V - stitch = HDC, ch 1, HDC (all in the same stitch)
Crochet Book "The Beginner's Guide to Crochet Sweaters and Tops" now available. 21 patterns. Learn more by pressing here.
〰️
Crochet Book "The Beginner's Guide to Crochet Sweaters and Tops" now available. 21 patterns. Learn more by pressing here. 〰️
Increases
You will have a total of 4 V-stitches, one in each corner, for your garment and they give the square or rectangular shape of the garment as well as being a part of the increase of the garment.
Since you make two stitches in the same stitch, and the V-stitch is made in the ch space, you are increasing with 2 stitches for every V-stitch meaning that the total stitch count for every round or row increases by 8 (4 V-stitches x 2 = 8 stitches). That is why it continues to grow larger.
Separate for the body
The idea is then that you continue making rows (or rounds) until your stitch count and height of raglan is enough to:
Get it under your arms
Get it around your body
A side note: since you need to get it both around your body and under your arms, raglan (as well as circular yokes) are one garment type where it is crucial to get the gauge both for row height and stitches across. I know that it might be tricky yo get the gauge for the row height for many of you: try the golden loop method (many great videos on YouTube). I always design riding so that it will fit as many as possible. I know it might feel like too much work changing the way you crochet, but most designers design riding so you will save yourself a lot of work in the future as well learning how to ride the stitches instead.
When the yoke is big enough to fit both under your arms and around the body it is time to continue to only crochet it around the body. You will need to connect the front section with the back section, skipping the sides of the rectangle or square making up the sleeves. That is done by:
Crochet to the first V-stitch.
Make one HDC in the V-stitch
Ch x number of chains
Skip the sleeve section
HDC in the next V-stitch (in the chain space where you have your stitch marker)
Crochet until the next V-stitch
Make one HDC in the V-stitch
Ch x number of chains
Skip the sleeve section
HDC in the next V-stitch (in the chain space where you have your stitch marker)
Crochet until end of the row
Check out my video on YouTube for the Lumous Puff Sleeve Sweater for example on how to do this!
With the chains under the arms you have now:
Closed of the sleeves so that you can later on crochet them in the round
Separated the body from the sleeves
You will now usually continue to crochet around and around (or in rows if a cardigan) until the body is at desired length. For the firs trow that means that you also crochet in the chains you made above.
Sleeves
To make the sleeves you usually attach you yarn in the middle chain of the chains you made while separating the body and then space out x number of stitches around the opening. To make it prettier and more cohesive the stitches you place in the corners (between chains and stitches) are nice to space out as HDC 2 together. That fills up the space that can easily look like a hole otherwise.
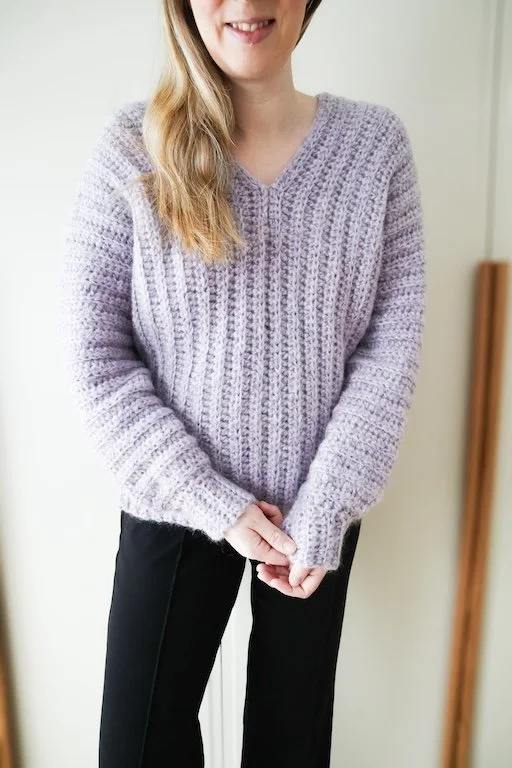
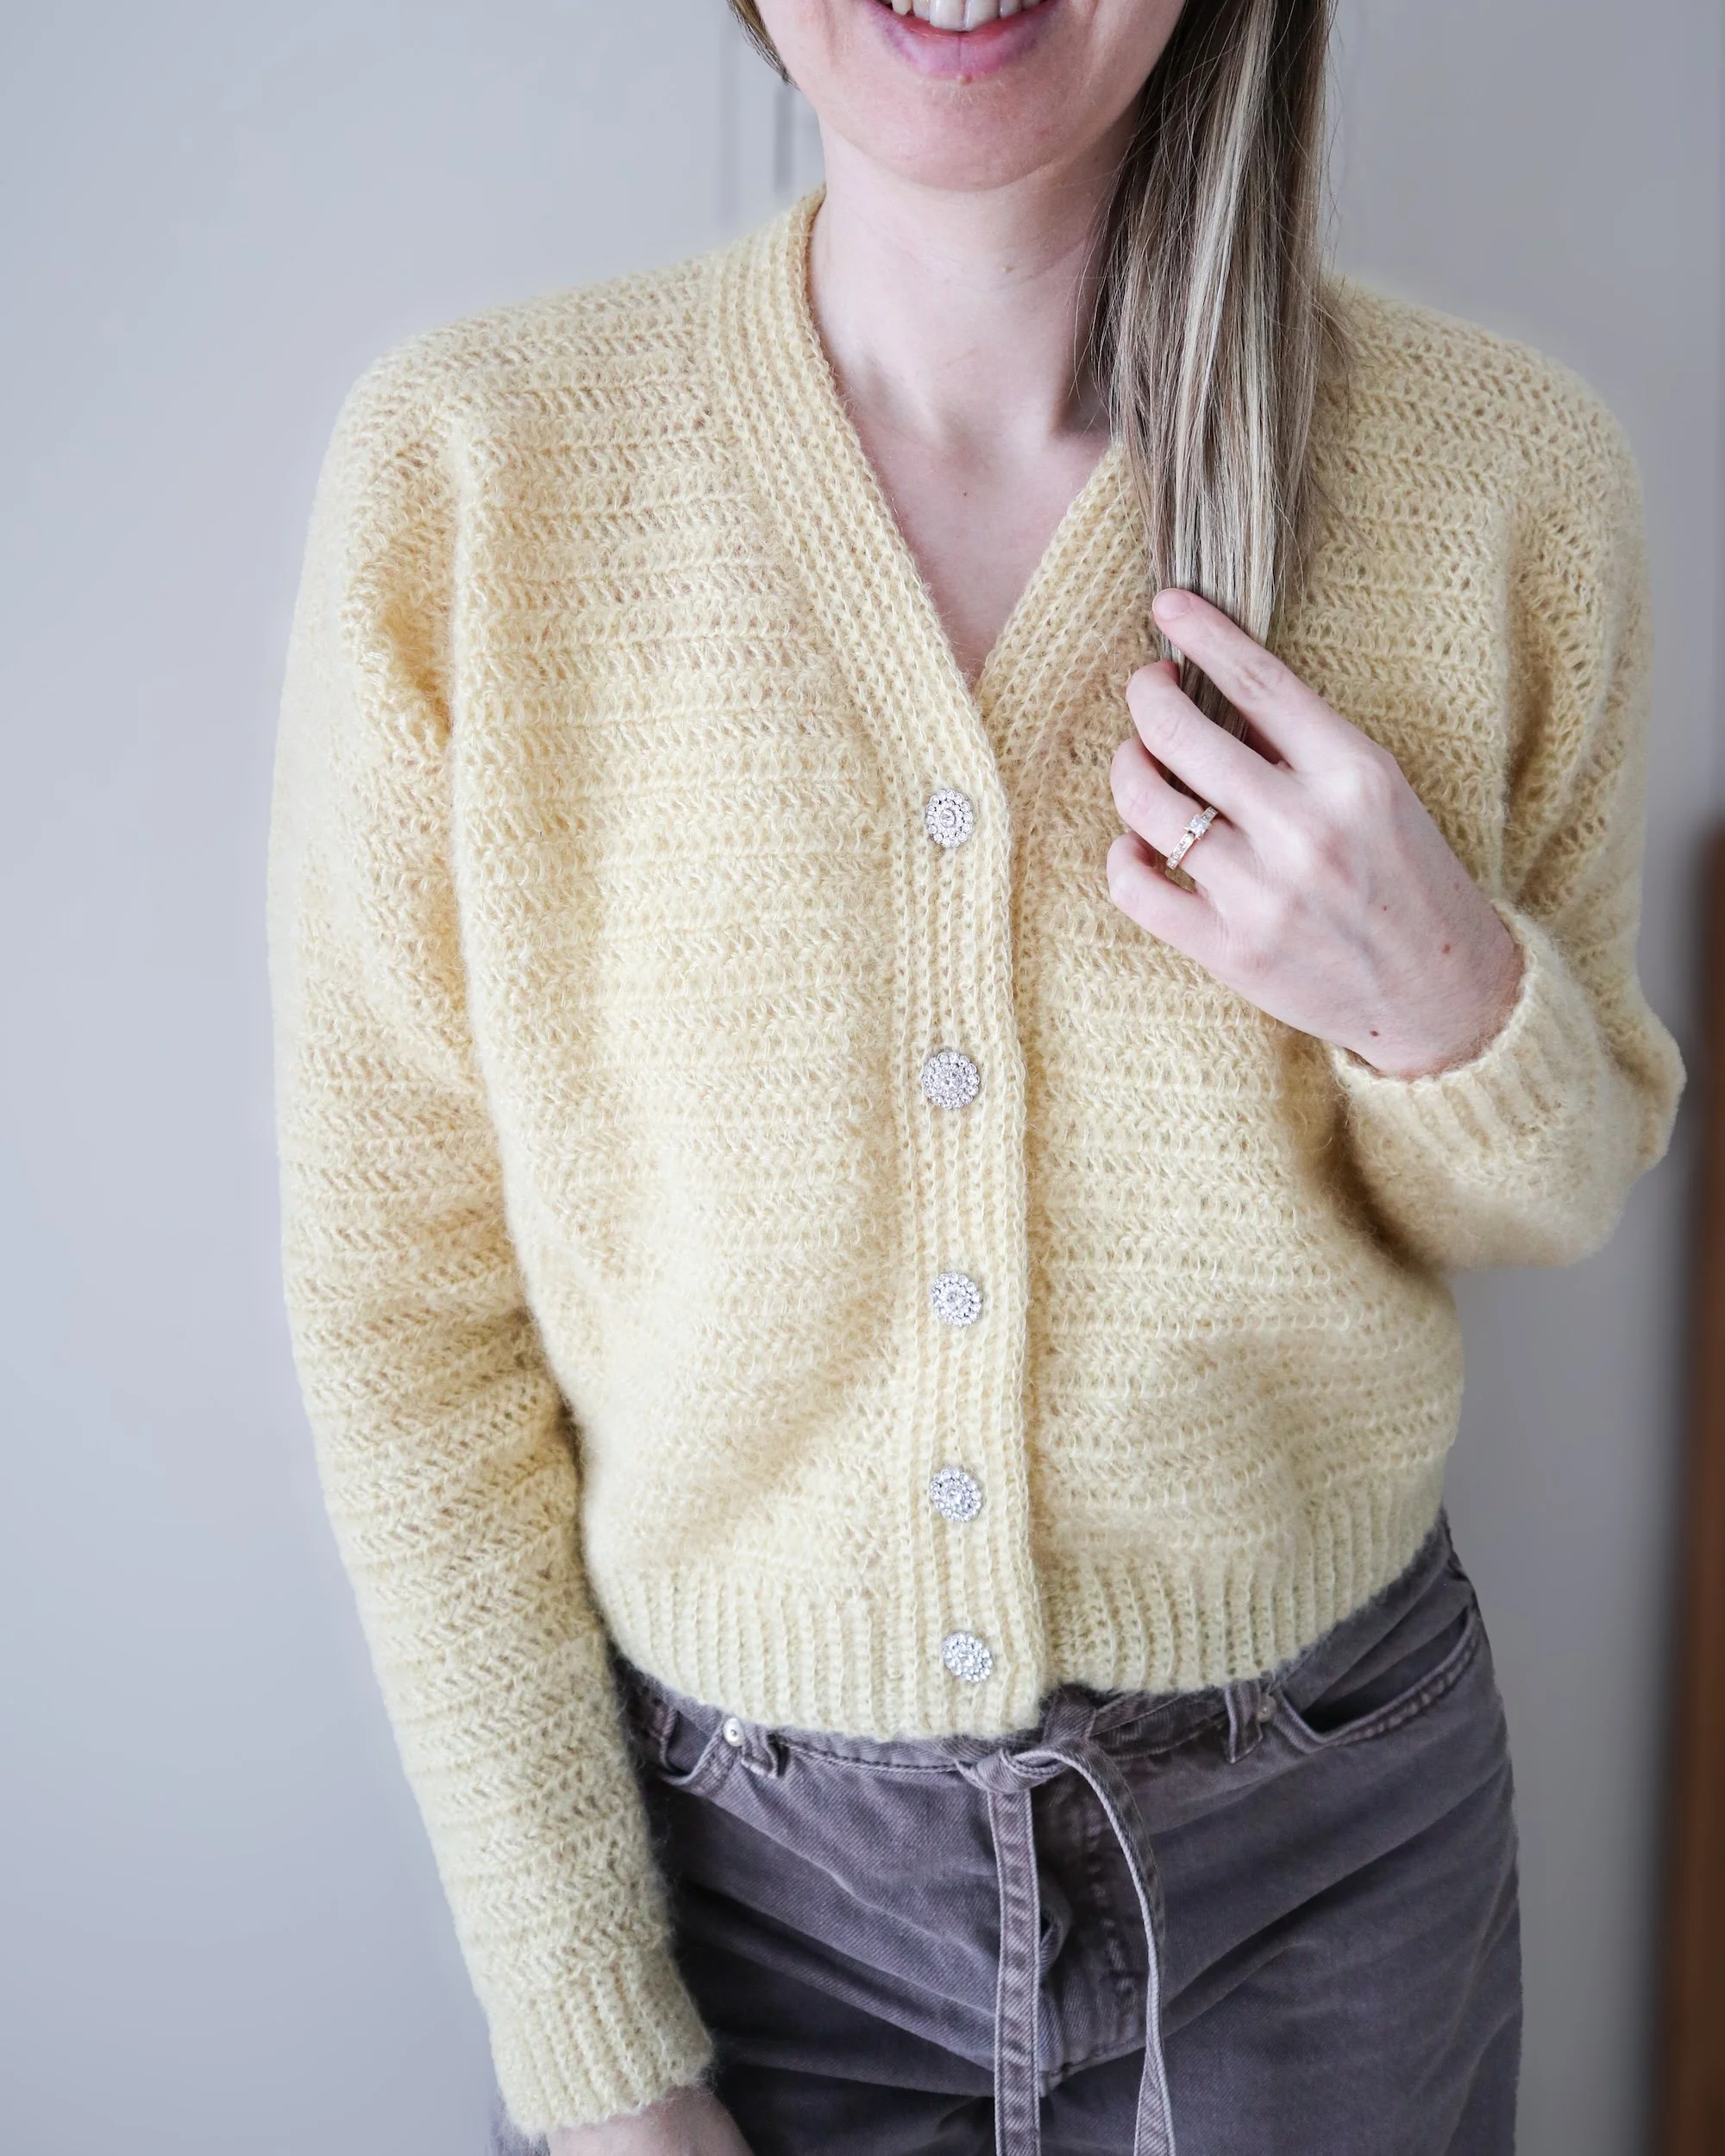
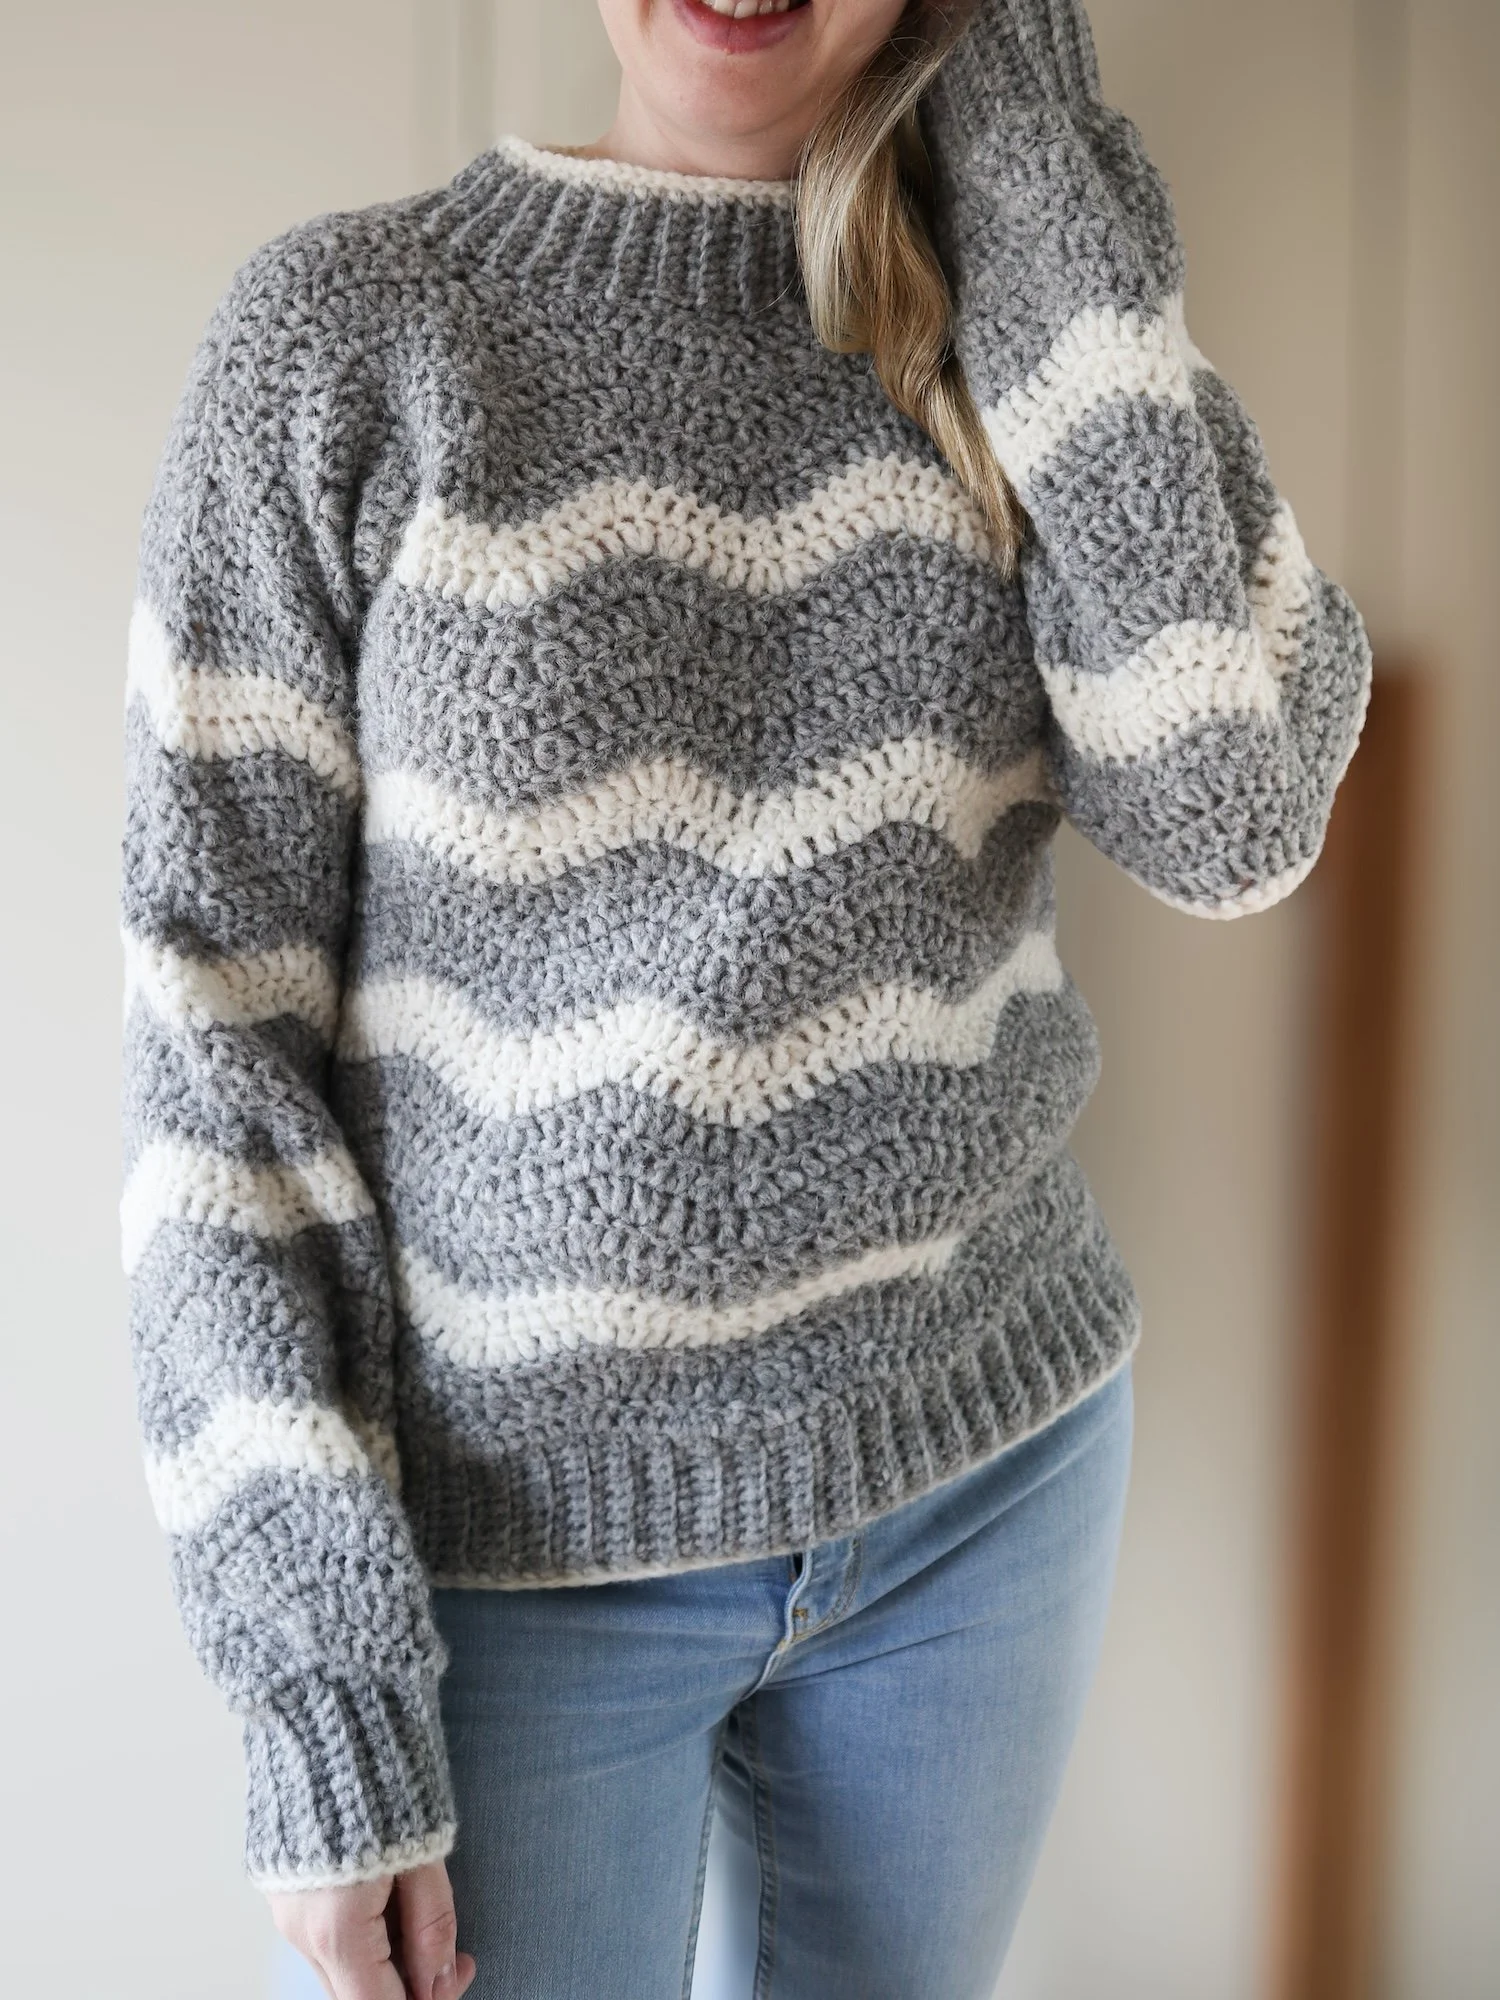
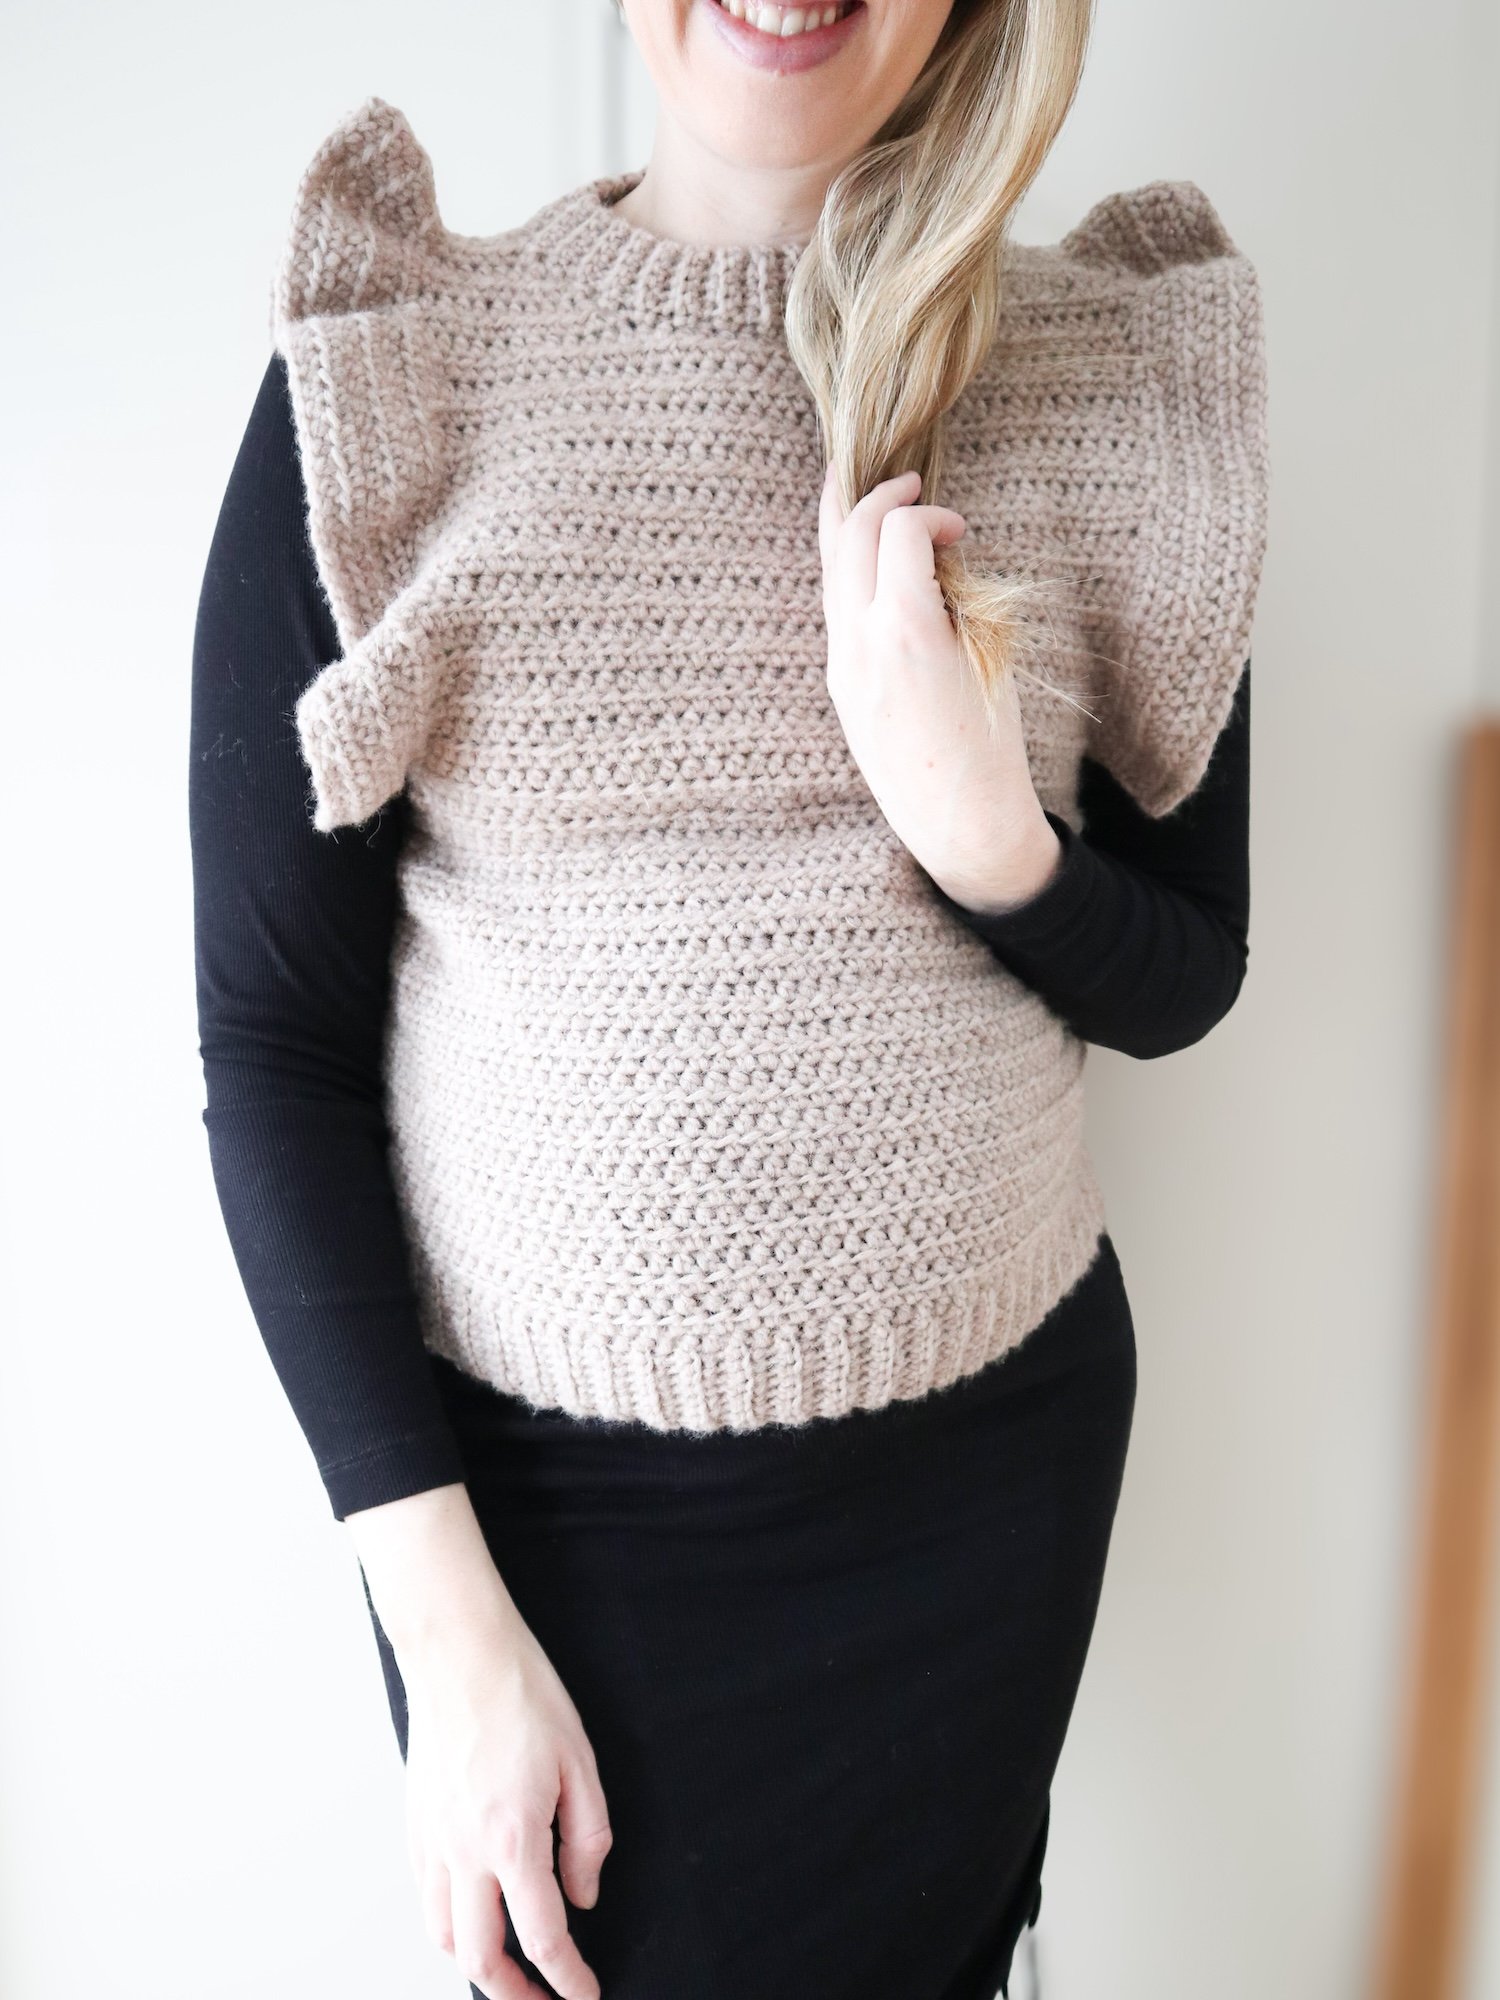
Now you are ready to make you first raglan! Raglan is one of my personal favourite ways to crochet since it requires minimal sewing and for me it is just something special with the rectangle of the raglan. Check out these patterns below, which are beginner friendly, and grab your hook and start making:
Let me know in the comments if you found this helpful and if you have any questions!
